How to build this blog

Hugo is a static website generator like Hexo and Jekyll, but Hugo is written in Go language, which is faster, more modern and easier and simpler to use.
Hugo offers many themes, since I was thinking of showing my resume, I found a more comfortable theme “LoveIt”.
I made some changes to the theme to make it meet my requirements.
Requirement
Thanks to the convenient of Github and Netlify, it’s easy to deploy your own blog.
Github will not mention much, this time to build the site is in fact the LoveIt template clone to the local, change the relevant configuration, and release the updates to the GitHub repository, so that Netlify automatically deployed on it.
Netlify offers a development platform that includes build, deploy, and serverless backend services for web applications and dynamic websites.
If you want a unique and cool name like “https://umiotter.com” to guide your audiences, a domain is required. Here is a website which provide a lightning-fast availability checker and domain price list FYI: https://www.domcomp.com.
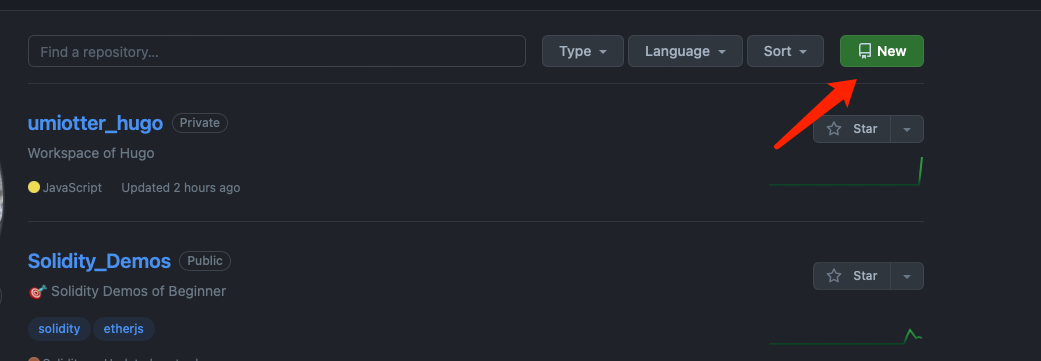
Step 1. Create Your Project
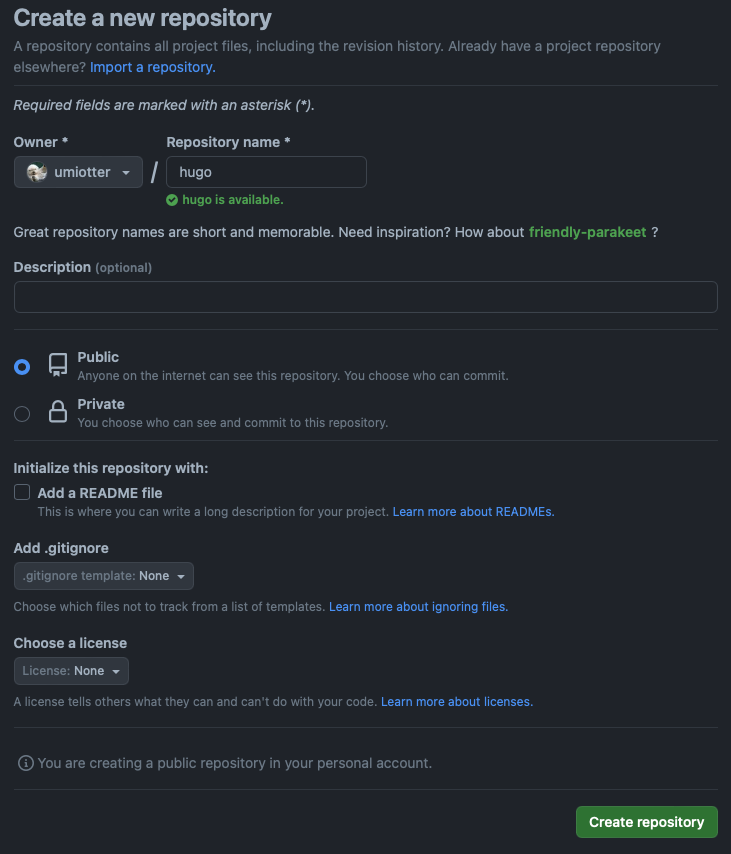
Create a empty repository in github.
Type your favor respository name and description, I set this repository to private and without add the README file and license, this is not a necessary operation.
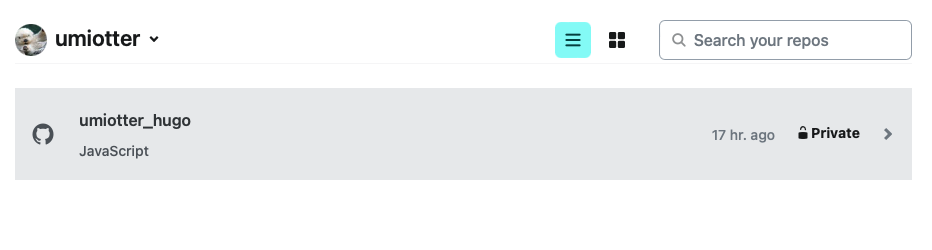
Clone the repository to the local.
| |
Step 2. Installation
2.1 Install and initialize the Hugo
Install Hugo in MacOS:
| |
Hugo provides a new command to create a new website:
| |
2.2 Install the theme
The LoveIt theme’s repository is: https://github.com/dillonzq/LoveIt. I recommend to fork the repository to your github for further customized.
| |
The hugo.toml file in root folder include the set of hugo and LoveIt theme, you can modify it according to your favor.
The complete sample configuration can be found at 3.1 Site Configuration section in “https://hugoloveit.com/theme-documentation-basics/".
In the main page, I want to add a entry “About me” to link to my resume. However, the subtitle property in LoveIt theme don’t support hyperlink.
To achieve this, I added following code in /theme/loveit/layouts/home/profile.html
| |
A new property param.home.aboutme is defined to set the hyperlink corresponding to my resume page.
| |
Step 3. Deploy your website on netlify
In Netlify main page, click Team overview -> Add new site-> Import an existing project.

Select the repo that you just created in GitHub and deploy your project directly in next page.
Create a new file which named netlify.toml in root folder and add following setting:
| |
Now here is way to create your first post:
| |
After you finished the writing, you can preview you content by using the following command:
| |
Go to http://localhost:1313 to check your site.
Build you website by using the following command.
| |
Netlify will automaticaly update and publish after your commit and sync your local repo.
| |
To speed up the deployment process, I wrote a shortcut script deploy_n.sh that integrates all the commands:
| |
This way, as soon as I finish writing a new article, I can simply run the ./deploy_n.sh command in the root directory to complete the operation of pushing the website code to Github.
The netlify automatically pull the compiled static HTML from /public in repo and publish.